
Review · GLACIER HIKES & ICE CLIMBING
Sólheimajökull Glacier: Guided Hike with Equipment
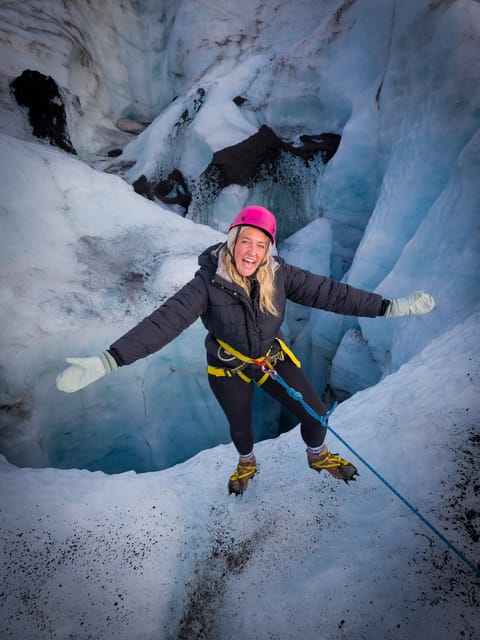
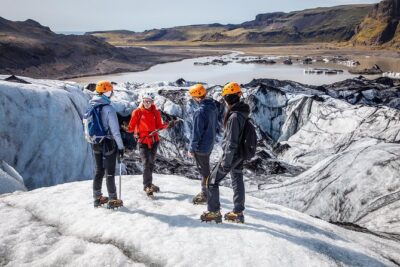
Ice feels close up on this glacier walk. A guided hike on Sólheimajökull is one of the easiest ways to see real ice up close, with safety equipment handled for you and a guide to explain what you’re looking at. You’ll spend time exploring crevasses, learning how the glacier works, and even trying pure glacier water.
I especially like that the tour gives you the right tools for the job. With crampons, an ice axe, and a helmet and harness, you can focus on walking and watching instead of worrying about the basics. I also like the pacing, about 1.5 hours on the ice during a 2.5-hour experience, which feels like enough time to make memories without turning it into an all-day grind.
One real consideration: this is cold, slippery, and physically demanding. It’s not suitable for children under 8, pregnant women, people with mobility impairments, or anyone with heart problems, so make sure you match the activity to your comfort and health.
In This Review
- Key things I’d plan around
- Why Sólheimajökull is such a good glacier hike choice
- Your 2.5-hour timeline, from parking lot to ice time
- Gear-up basics: what you wear, what you carry
- What happens on the glacier: crevasses, walking technique, and glacier-water tasting
- The science lesson you actually want to hear
- Location and logistics that don’t waste your time
- Is it worth $101? How to judge the value
- Who this glacier hike suits best
- Small things that make your hike easier
- Should you book this Sólheimajökull guided hike?
- FAQ
- Where do I meet for the Sólheimajökull glacier hike?
- How long is the guided glacier hike?
- What gear is included?
- What should I bring with me?
- Is food or drinks included?
- What language is the tour guide?
- Is this tour suitable for young children?
- Can pregnant women join?
- Is the activity suitable for people with mobility impairments or heart problems?
- What is the cancellation policy?
Key things I’d plan around
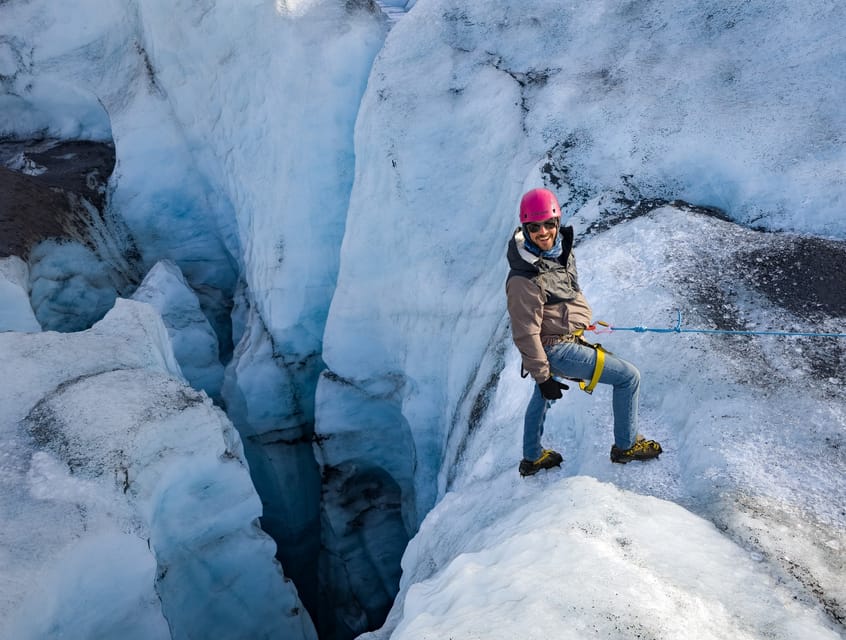
- Crampons, ice axe, helmet, harness are included, so you arrive ready
- 1.5 hours on the ice during a 2.5-hour outing, with guided safety throughout
- Crevasse spotting and glacier formations are part of the walk, not just a photo stop
- Glacier-water tasting can happen, and it connects you to the ice in a memorable way
- English live guide helps you understand the geology and history while you hike
More crampon days, from gentle walks to roped climbs
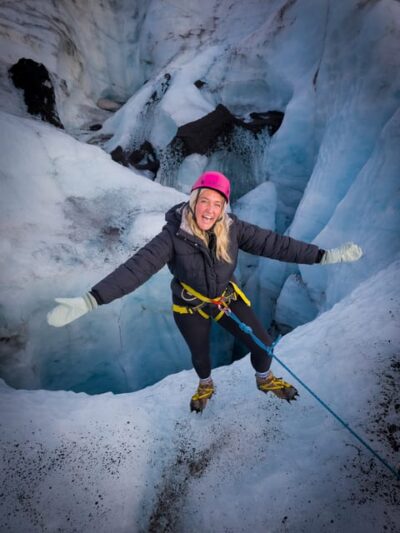
Why Sólheimajökull is such a good glacier hike choice
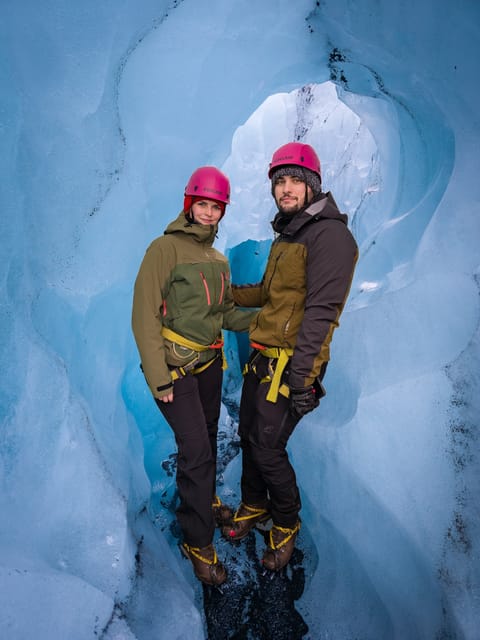
Sólheimajökull Glacier is an outlet glacier of Mýrdalsjökull, Iceland’s fourth-largest ice cap. That matters because you are not just looking at a pretty block of ice. You’re seeing ice that is actively moving and reshaping itself, which is why the surface can look both dramatic and oddly calm at the same time.
What I like about this glacier specifically is that it sits in the southern Iceland region with volcanic surroundings nearby. That mix of forces, ice and fire, is part of why Iceland’s glaciers feel different from glaciers elsewhere. The guide will help you put what you see into context, so you know what a crevasse is really doing, not just that it looks impressive in a photo.
Also, this tour keeps things in the safe, controlled lane. You’ll explore in a guided group with proper equipment, so you get the thrill of being on glacier ice without turning the day into a risky DIY adventure.
Your 2.5-hour timeline, from parking lot to ice time
This experience is short enough to fit into a busy day in South Iceland, but long enough to feel real. You start at the Sólheimajökull glacier parking lot, which is convenient because there’s only one meeting location. You just look for the car or mini bus marked Holiday Tours and you’re set.
From there, you’ll do the safety process first. Expect a briefing before you step onto the glacier, plus a gear check. Then the time on the ice begins. Plan on about 1.5 hours walking on glacier ice, while the full tour runs about 2.5 hours.
Here’s how to think about the timing: you want enough time to slow down and look. Crevasses can be easy to miss if you’re rushing, and glacier textures can be more interesting than you expect. The format gives you both walking time and viewing time, without stretching so long that you get numb from cold or tired from effort.
Gear-up basics: what you wear, what you carry
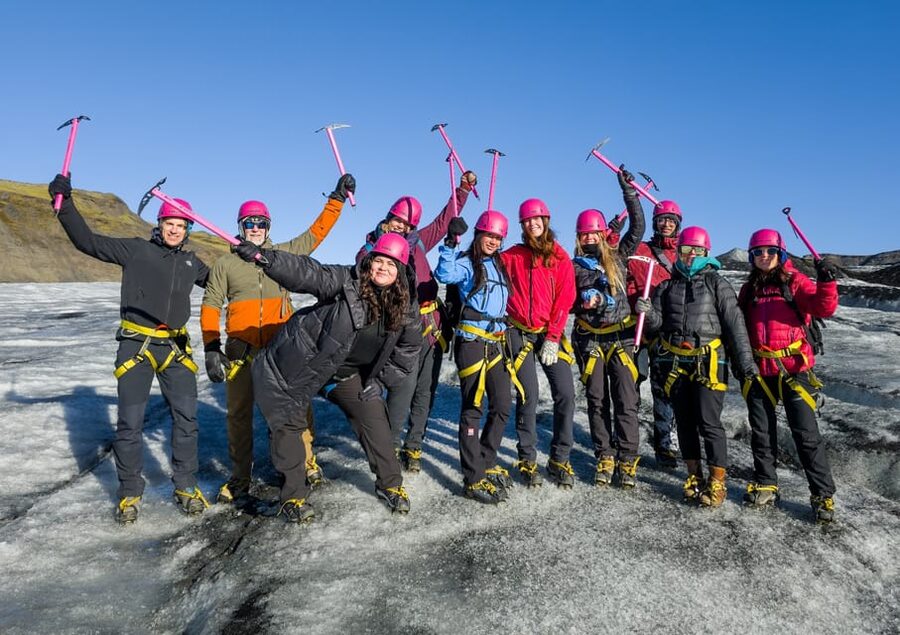
This tour includes the big safety items: crampons, an ice axe, a helmet, and a harness. That’s a major value point, because these are not casual souvenirs. You need them to be safe and stable on uneven, icy ground, and it’s reassuring that the tour handles it for you.
You still bring your own clothing and essentials. The guidance is simple and practical:
- Wear warm, waterproof clothing
- Bring hiking shoes
- Bring gloves and a hat
- Bring water
My tip: treat this like winter hiking, not like a light outdoor stroll. Cold hits fast on glacier ice, especially when you stop to look into crevasses. If your outer layer isn’t truly waterproof, wind and meltwater can make the experience feel harder than it should.
Also follow the rules: no smoking, and no alcohol or drugs. It’s not about being strict for the sake of it. It’s about keeping the hike focused and your judgment clear when you’re stepping on ice.
- Gullfoss: Sleipnir Monster Truck Tour of Langjökull Glacier★ 4.7 · 137 reviews
- From Geysir: Snowmobiling & Ice Cave on Langjökull Glacier★ 4.4 · 100 reviews
- Sólheimajökull Glacier: Guided Hike with Equipment★ 4.8 · 13 reviews
- From Rvk: Private Day-Tour to Thorsmork with Mountain Hike★ 4.9 · 9 reviews
- 2 Day Iceland Winter Tour to South Coast★ 4.4 · 9 reviews
What happens on the glacier: crevasses, walking technique, and glacier-water tasting
Once you’re on the ice, the whole experience shifts from “scenery” to “terrain.” The guide helps you move with crampons, and you’ll get instructions for how to handle the ice axe safely. Even if you’ve never used glacier gear before, the briefing is there to get you comfortable with the basic movement mindset.
Expect to spend time exploring deep cracks and learning what you’re seeing. Crevasses are one of the most striking features of a glacier, and part of the fun here is being able to look closely under guided conditions. The guide will point out glacier formations and explain how they form and change over time.
There’s also a chance you can sip pure glacier water. That’s one of those moments that feels both scientific and surprisingly human. It connects the walk to the real flow of water and ice that shapes the glacier system. If you’re offered it, take it slowly, listen to the guide, and treat it like an experience moment, not a dare.
The science lesson you actually want to hear
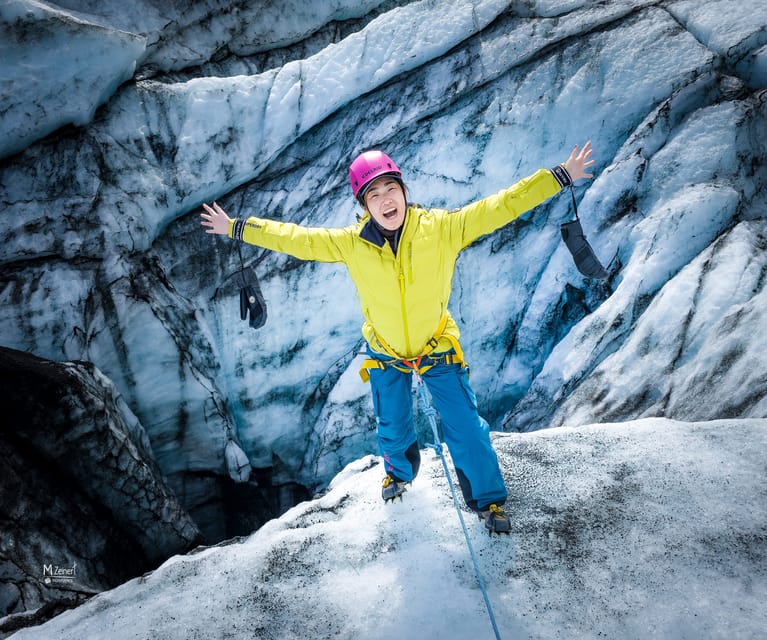
You’re not going to a museum talk where you nod politely and forget everything later. Instead, the explanation stays tied to what’s in front of you: the ice, the crevasses, and the surrounding volcanic setting.
The guide covers the fascinating history and geology of Iceland’s glaciers, and you’ll learn why Sólheimajökull is described as an outlet glacier. You’ll also hear what makes glaciers behave the way they do, including how ice shapes itself through movement and temperature changes.
Why this matters for your day: when you understand a little, the glacier becomes more than a “wow” surface. You start noticing patterns in color, texture, and the way the cracks open. The tour gives you just enough background to turn your photos into something you understand, even if you’re not a geology person.
Location and logistics that don’t waste your time
This hike’s biggest practical advantage is how straightforward it is to find the starting point. You meet at the Sólheimajökull glacier parking lot, and the activity ends back at the same place. That means you do not need to coordinate a complicated drop-off or hunt for obscure trailheads.
The tour is in English with a live guide, which helps a lot on glacier hikes where safety instructions need to land clearly. If you’re traveling in Iceland without a lot of Icelandic, this is the kind of outing that can still feel easy to understand and follow.
One note on cost value: the price is $101 per person, and transportation to the meeting point is not included. That’s typical for Iceland tours, but it’s worth planning for. If you’re driving yourself, budget for parking and time. If you’re relying on a transfer, price in that separate cost so you can see the full picture.
Is it worth $101? How to judge the value
Paying for a glacier hike can feel high until you break down what’s included. Here, you get guided hiking, plus the safety equipment that makes the walk possible: crampons, ice axe, helmet, and harness. You’re also getting the guide’s expertise on navigating glacier conditions and interpreting what you see.
Then there’s the time factor. You get about 1.5 hours actually on the ice, which is the core experience. In glacier terms, that’s meaningful time, because stepping onto ice is not like walking on a flat trail. Your pace is slower, you stop more often, and you’re focused on safe footing and observation.
So the value logic looks like this:
- Equipment included reduces your risk and reduces what you’d otherwise need to rent
- A trained guide is the difference between a fun day and a dangerous one
- 1.5 hours on glacier ice is enough time to feel you got your money’s worth
Who this glacier hike suits best
This is best for travelers who want a thrilling nature experience with real structure and safety. If you like hands-on moments, clear instruction, and you enjoy learning while you move, you’ll fit right in.
It’s also ideal if you want a moderate time commitment. The total duration is 2.5 hours, and the ice time is about 1.5 hours, so you can still plan other South Iceland stops before or after.
Who should skip it:
- Children under 8 years
- Pregnant women
- People with mobility impairments
- People with heart problems
If any of those apply, don’t force it. Glacier environments can be physically demanding even when everything is well organized.
Small things that make your hike easier
Arrive early. You’re told to be there about 15 minutes before the start time, and on a glacier tour that buffer matters. You’ll likely need time to get your gear sorted and to be in position for the safety briefing.
Bring the right basics. Warm waterproof layers and gloves are not optional. Water is also recommended, because you’re working in cold conditions where you can still get dehydrated.
Finally, go in with the right expectation: the excitement comes from being on the ice and seeing crevasses up close. Don’t treat it as a fast walk. Treat it as a guided adventure where the pace is set for safety and viewing.
Should you book this Sólheimajökull guided hike?
If you want a glacier experience that’s thrilling but managed, I think this is a solid choice. The included equipment, guided safety, and real time on the ice make it practical value, not just a sightseeing add-on. It’s also a great fit if you prefer a clear, structured outing with a live English guide and a simple meeting point.
You should not book if you fall into the stated limitations, or if you know you won’t be able to handle cold, slippery terrain. In that case, look for an easier option that keeps you off the glacier.
If you’re on the fence, consider this: you’re paying for guided access to an environment where equipment and instruction matter. For many people, that’s the difference between seeing ice and truly experiencing it.
FAQ
Where do I meet for the Sólheimajökull glacier hike?
Meet at the Sólheimajökull glacier parking lot. There is only one meeting point, and you should look for the car or mini bus marked Holiday Tours.
How long is the guided glacier hike?
The total duration is about 2.5 hours, with about 1.5 hours spent on the glacier ice.
What gear is included?
You are provided with safety equipment including crampons, an ice axe, a helmet, and a harness.
What should I bring with me?
Bring warm clothing, a hat, hiking shoes, water, and gloves. The tour also advises wearing warm, waterproof clothing.
Is food or drinks included?
No. Food and drinks are not included.
What language is the tour guide?
The live tour guide is English.
Is this tour suitable for young children?
No. It is not suitable for children under 8 years.
Can pregnant women join?
No. It is not suitable for pregnant women.
Is the activity suitable for people with mobility impairments or heart problems?
No. It is not suitable for people with mobility impairments or for people with heart problems.
What is the cancellation policy?
Free cancellation is available up to 24 hours in advance for a full refund.
More Tour Reviews in Southern Region Iceland
Glacier Walks and Climbs Nearby
More Southern Region Iceland write-ups from our desk
- From Geysir: Geysir Buggy Adventure
★ 5.0 · 3 reviews - Super Jeep Private tour in Þórsmörk
★ 5.0 · 3 reviews - Private Golden Circle Tour with Airport Pick up
★ 5.0 · 3 reviews - Private Tour to Landmannalaugar. Explore the Highlands
★ 5.0 · 4 reviews - Iceland Reykjavik: Golden Circle Private Tour
★ 5.0 · 5 reviews - Iceland: Glacier Zip Line Tour with Hike or Ice Cave Visit
★ 4.8 · 6 reviews
Glacier Hikes & Ice Climbing, compared.
 ★ 4.8Reykjavík: South Coast Waterfalls, Black Sand & Glacier TourFrom $12611,030 reviews
 ★ 4.5Skaftafell: Ice Cave Tour and Glacier HikeFrom $1651,746 reviews
 ★ 4.8Reykjavik: Glacier Hike, Waterfalls and Black Sand BeachFrom $1861,285 reviews
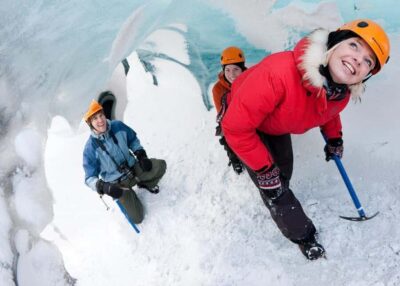 ★ 4.7Sólheimajökull: Guided Glacier HikeFrom $1161,123 reviews
 ★ 4.7Skaftafell: Blue Ice Glacier Hike on VatnajökullFrom $1161,045 reviews
 ★ 5.0From Reykjavik: Glacier Hike, South Coast and Waterfalls Day Trip915 reviews
 ★ 5.0Glacier Hike and South Coast Small-Group Tour from ReykjavikFrom $205827 reviews
 ★ 5.0Sólheimajökull Glacier Hike – Adventure in a Small GroupFrom $115799 reviews
Browse the lists this tour appears in